A friend’s son hand-delivered to me his dad’s Guild 12-string, a 90’s D4-12 NT, for repair. At the time, brand new out of Westerly, RI, this was an $800 guitar featuring a mahogany archback with mahogany sides, plastic fret position dots, plastic binding, minimal plastic purfling, dark-tinted (brown) back and sides, a satin finish, and a very unattractive soundboard with obvious runout (one half was visually much darker than the other).
The bridge had lifted significantly, making the guitar unplayable. I assured him this was a straightforward repair and I should be able to turn it around for him fairly quickly; that is, once I was able to get to it. He was most understanding of my schedule. My plans were to keep the guitar in original condition. Ah, the best laid (and vocalized) plans often suffer from foot-in-mouth disease.
(One humbling year later) What should have been a simple repair had become a complete remake. Here's how it all happened ...
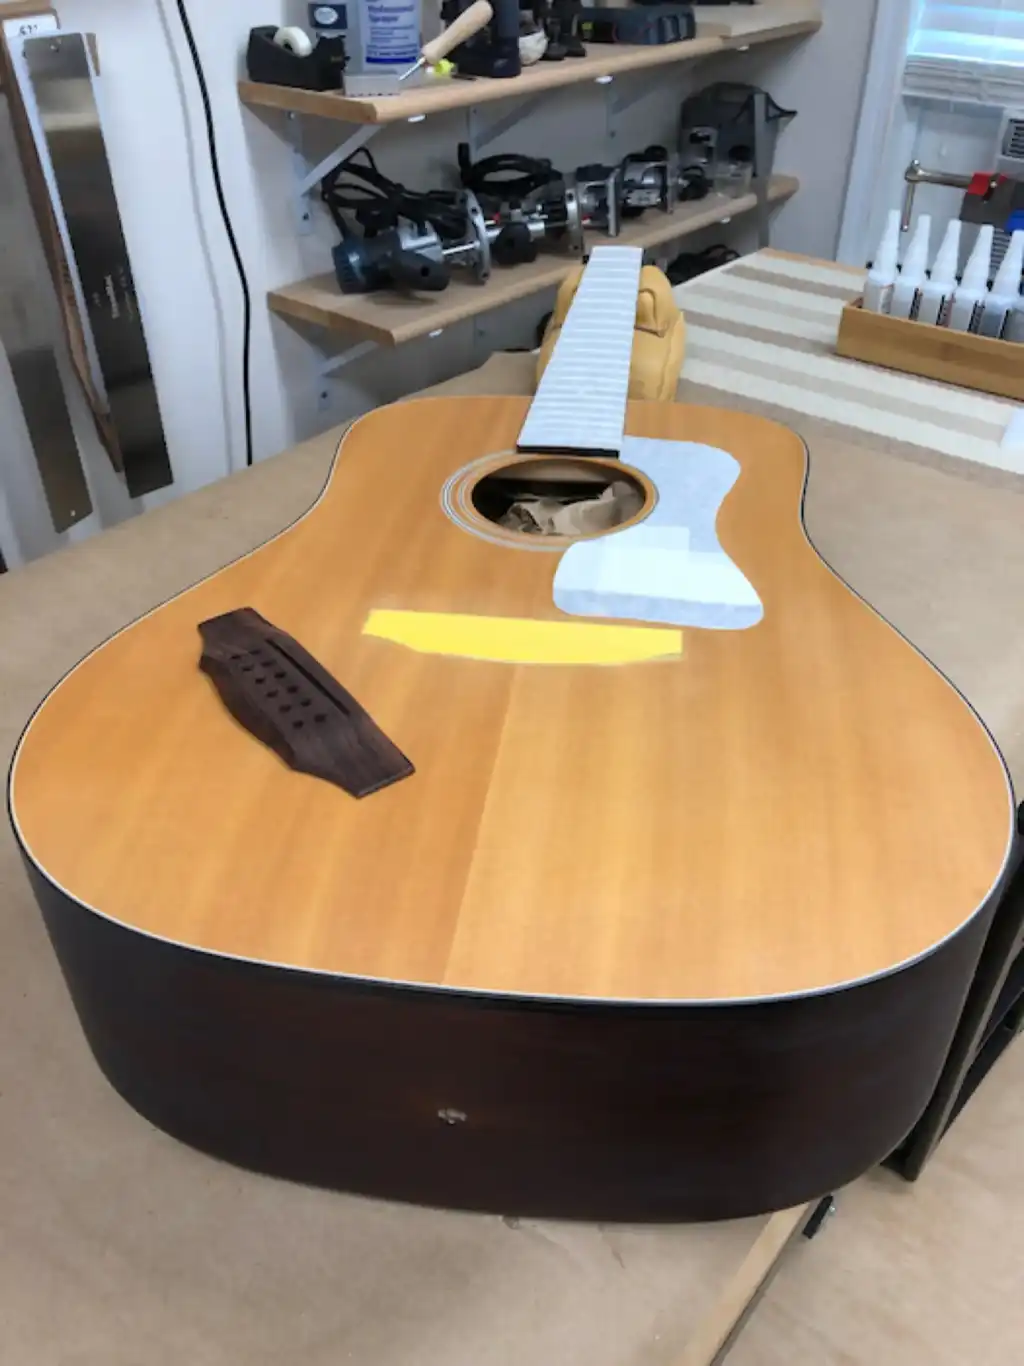
With the strings loosened, the guitar went back into its case and took its place in line amongst the projects. Three or four months had passed before the Guild found its way again onto the shop bench, where I would begin to address the bridge lift.
A bridge "lifts" at the back, toward the tail end of the guitar, never at the front, nearest the soundhole. The bridge is rotating forward under string tension, and a gap occurs at the back, which may or may not continue to grow, over time.
One might assume that the most common cause of a bridge lifting off a soundboard is glue bond failure. The glue simply fails to secure the bridge to the soundboard, being overcome by a mere 250 lbs of string tension which is effectually trying to rip it off the face of the guitar.
Repairing a bridge that is lifting at the back seems like it could be a very straightforward effort. Glue is squeezed into the opening between the bridge and the soundboard and the bridge is clamped down to allow the glue to dry.
Let me take a moment to explain "How" most bridges are secured to soundboards, and I will show you why it may not be anywhere near that simple to repair.
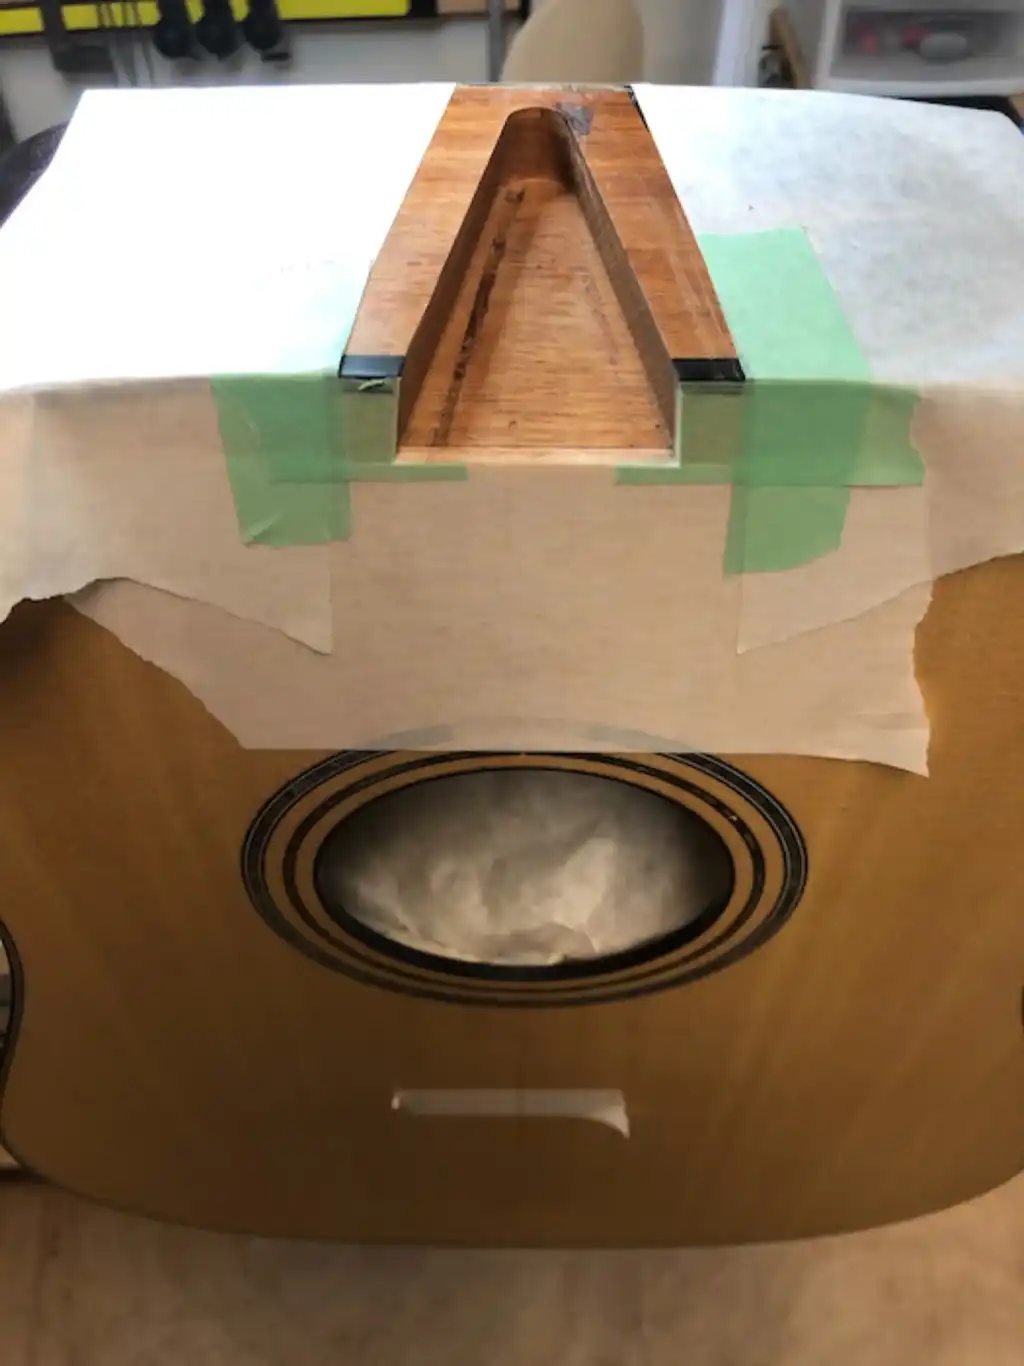
An acoustic guitar's wooden bridge should only be glued directly to the raw wood of the soundboard, and never be glued to the finish. To secure a perfect bond, the bridge can be glued onto the soundboard prior to applying the finish. But it is extremely difficult to achieve a beautiful transition between the finish and the bridge this way. To attain both a secure bond, and a pretty appearance, it is customary to "tape off" the footprint of the bridge to prevent any finish from being applied in the area where the bridge will be glued. It is possible to apply finish to a soundboard and, after the finish has dried or cured, to THEN remove finish only where the the bridge will be attached, but this is a very specialized process (and fraught with peril for the typical guitar maker).
When taping off the footprint of the bridge, tape is first applied to the raw wood of the soundboard. The outline of the bridge is then traced onto the tape. Finally, the tape is cut slightly INSIDE that outline, leaving a protective barrier precisely beneath where the bridge will attach. Why go to this effort? For appearance sake. The goal is to make it appear as though the bridge is sitting on the finish, with no unsightly gaps between the finish and the perimeter of the bridge, though it is primarily glued to the raw wood of the soundboard.
Imagine what might happen if, instead of carefully cutting through the tape just barely inside that traced outline, someone is either trying to "play it safe," or is in a hurry, or {fill in reasonable explanation, here}, and cuts through that tape leaving a large border of tape between the tape cut line and the traced outline of the bridge? Now, compound the problem by hurriedly attaching a bridge to a guitar that has been prepared this way. Instead of 99% of the bottom of the bridge making direct contact with the raw wood surface of the soundboard, only 70% or even less is making a wood-to-wood bond. The back of the bridge ends up resting on a section of finish and, as soon as the bridge begins to rotate forward under string tension, the back of the bridge begins to lift.
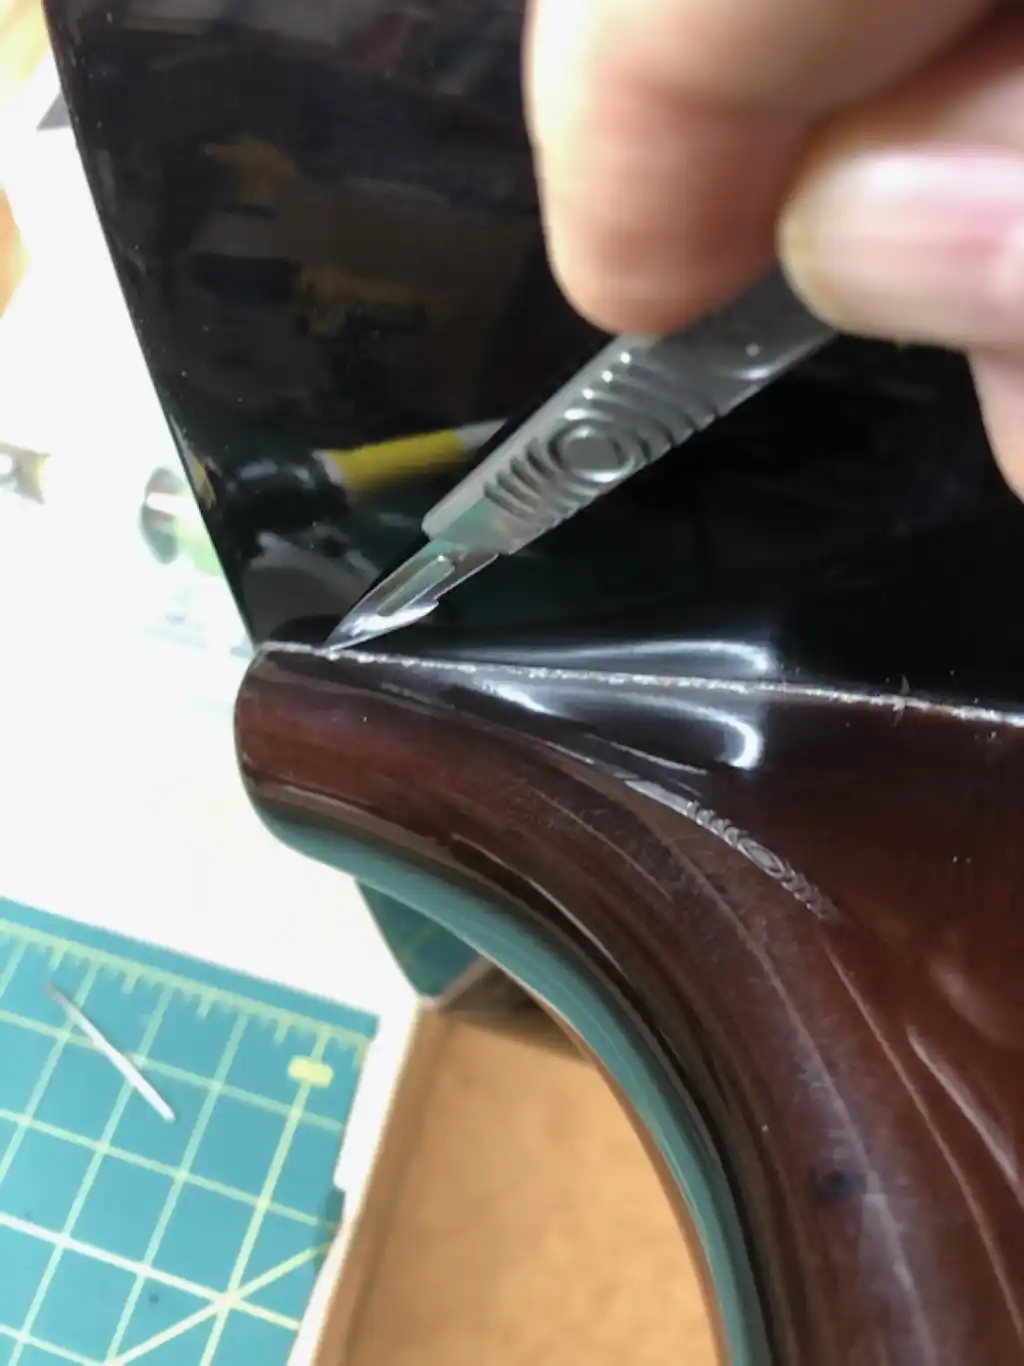
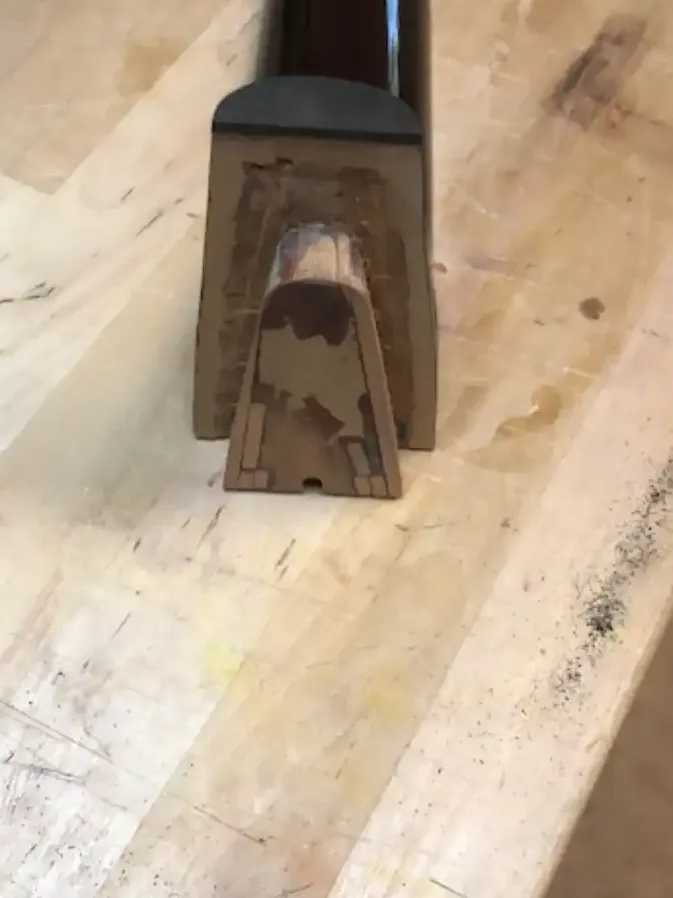
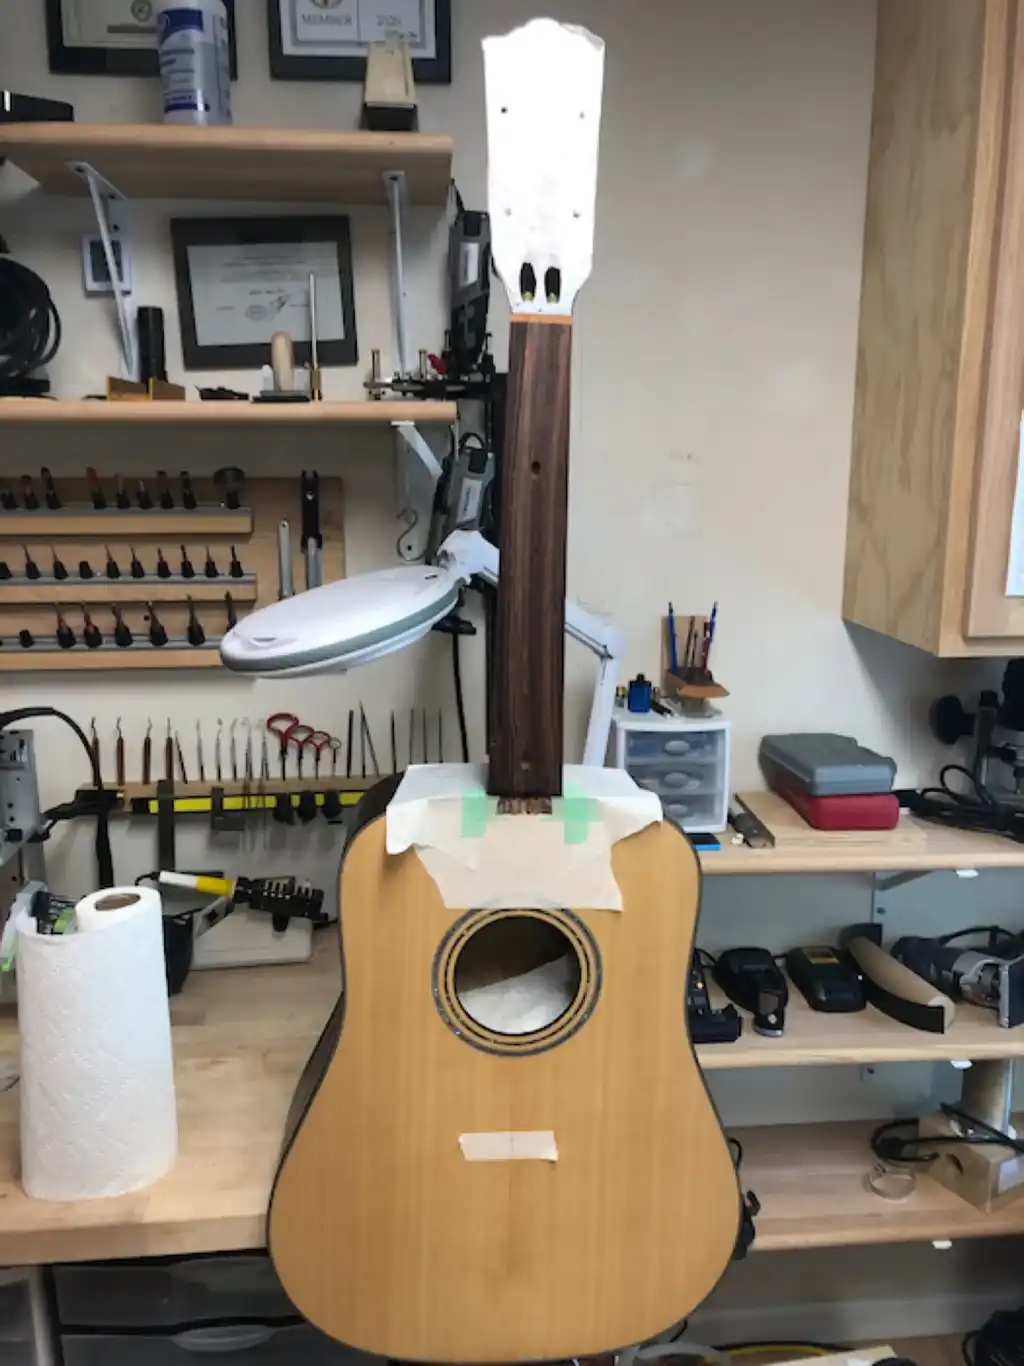
A more comprehensive repair will remove the bridge (if it has not already torn completely free from the soundboard), clean and repair (if needed) the mating surfaces, and perhaps even remove finish from the soundboard (if needed), and then re-attach the bridge.
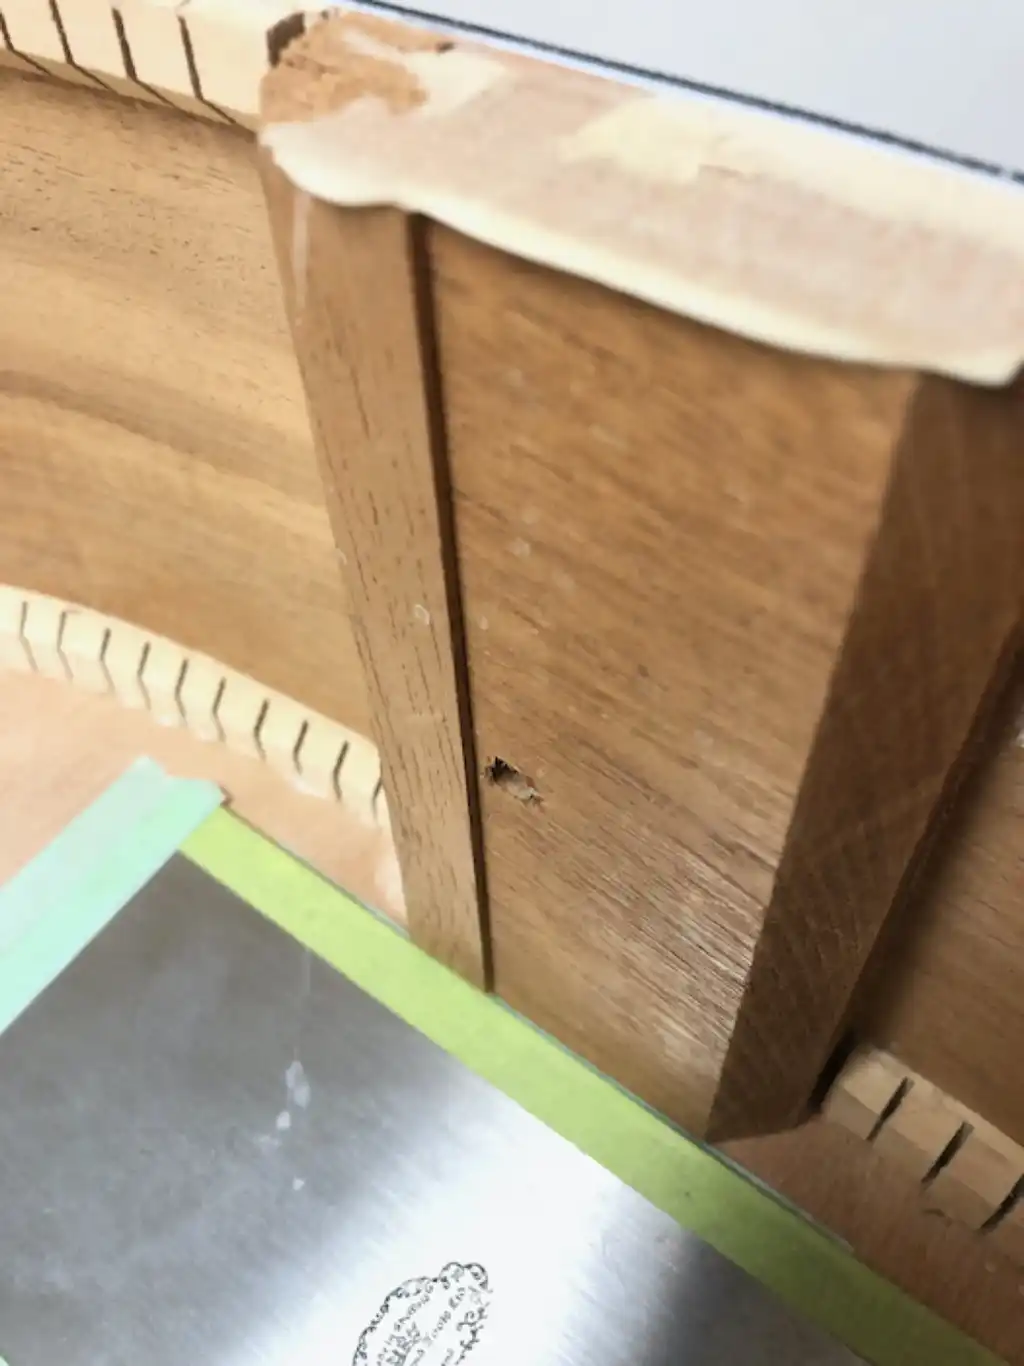
A more worrisome cause of bridge lift is a cascading effect of glue bond failure, beginning with the glue holding the bracing (typically the X-brace) to the soundboard. This type of failure permits the soundboard to pull upward, away from the bracing. The bridge, which is already rotating forward, is inadvertently rotated forward even more, enough to let the string tension have its way. At this point, either the glue bond holding the bridge to the soundboard fails or, worse, the wood of the soundboard shears. Either way, this is no longer just a matter of squeezing a little glue beneath the bridge a calling it "repaired."
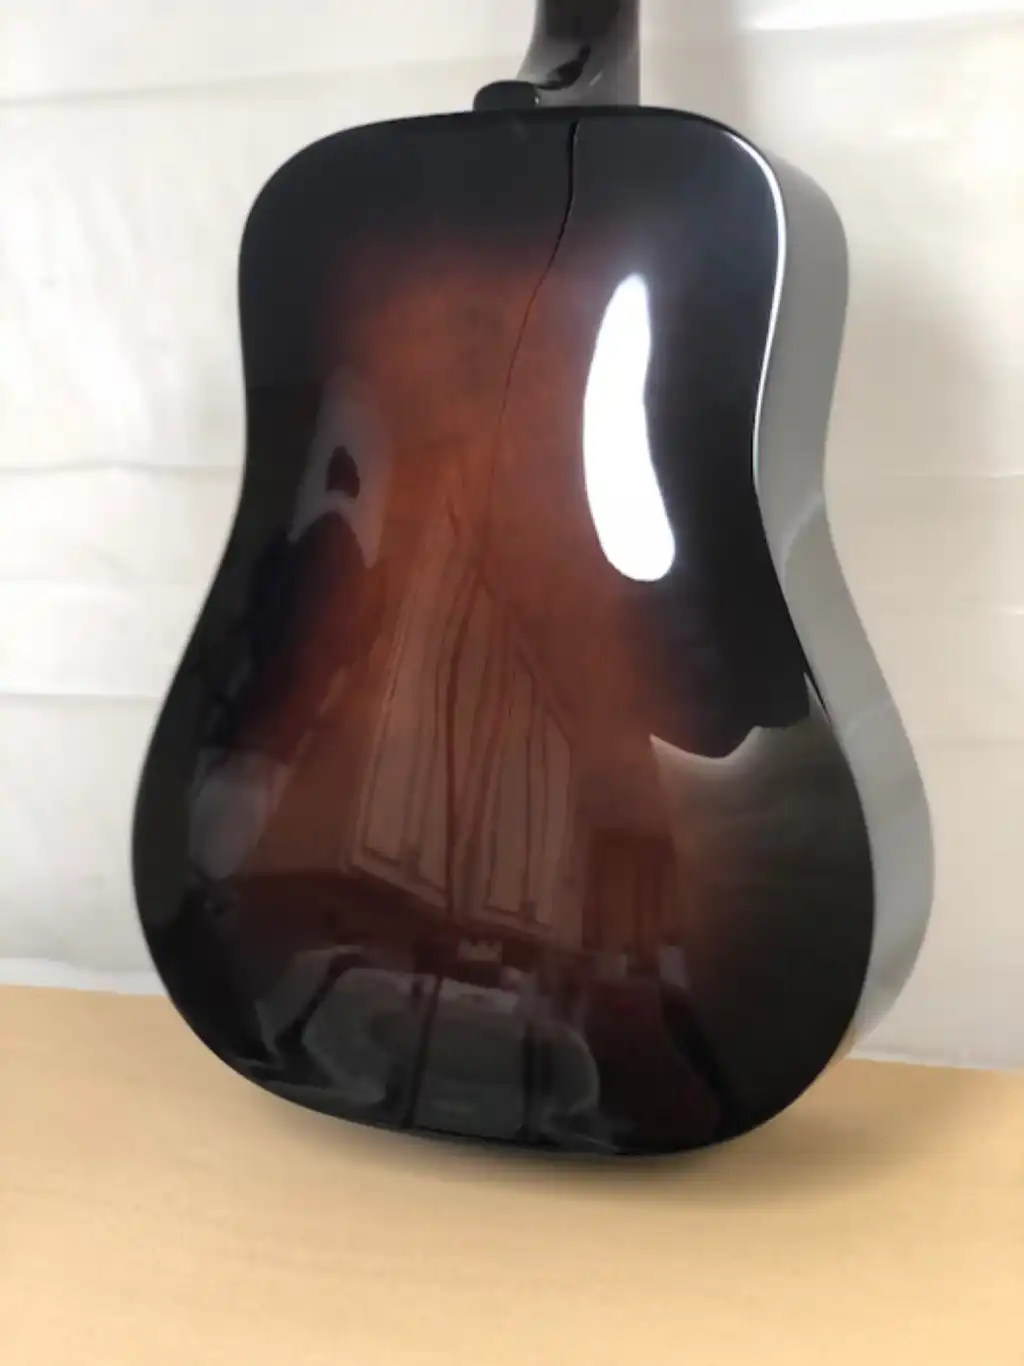
When I had first seen the guitar, when it was first brought to me, I had assumed (and hoped) the bridge lift was simply due to bridge glue failure. When inspecting a bridge lift it is customary to check for bracing glue failure, which I did.
From inside the guitar, I was able to slide a palette knife between a section of the X-brace and the soundboard. And I could get that palette knife almost completely between the bridge and the soundboard in a couple of places.
I applied a little heat and this bridge practically fell off. That is not a good sign.
When the bridge "lifted," it tore some of the wood of the soundboard beneath it. I cleaned the wood fibers off the bottom of the bridge, and re-glued them into the divots from whence they came.
I added glue between the brace and soundboard in the section where I had been able to slide the palette knife, clamped things together, and left it all to dry.
The satin finish on this Guild had been beaten up pretty bad, and I wanted to surprise the owner by presenting him with a shiny new (renewed) guitar. So prepared the guitar for a simple light sanding, repair, and refinishing.
I sprayed the guitar with clear lacquer and left it dry for several weeks. Afterwards, I sanded and buffed the finish. I did a complete fret job on the guitar, as the frets were original from 1994. I fashioned a bone nut and saddle and strung the guitar, eager to hear the results. The sound did not disappoint, as it was quintessential Guild. I recall walking the instrument out to my wife so she could hear it, and got the nod of approval. "That is a Guild 12-string, alright," I remember her saying.
I left the instrument overnight as I planned to give it a final buff the next day. I almost contacted the owner's sons with the good news, but got busy with something and never made the call ...
There was only one thing to do: this guitar was getting a Cozad makeover! That meant first removing the neck. In the event I am going to put things back together and retain the original finish, such as when performing a neck reset, I like to carefully scribe the lacquer with a warmed scalpel where the neck joins the body, as it makes for a cleaner removal.
Having removed the fretwire directly above the neck-to-body joint (Yes, I removed my brand new fret job!), I drilled two holes through the fret slot and down into the dovetail joint. A little heat using my favorite no-water-necessary neck removal tool (simply an accessory tip for my digital soldering station) and the neck came off nicely.
The dovetail tenon was one of the most chewed up and sloppiest cut tenons I have ever encountered, quite a surprise for a Guild guitar. This neck looked like it was made from scrap wood in a total of about 10 minutes, start to finish! I can only guess at what decisions were made back when this guitar was assembled. Rather than re-make a neck, I opted to rebuild the tenon using Mahogany and epoxy.
Next up - remove the top. There are two ways to accomplish this task, and both are pretty straightforward. One involves simply cutting through the binding from the side of the guitar. The other involves routing through the top, removing it from the kerfing. I used the first option and had a look inside the box. What caught my eye was the curious addition of a stick lightly glued onto the tailblock, which had been glued on off-center. I have seen these on many (most) of this era's Guilds, and have assumed it was used to counterbalance the weight so that, when the guitar was stood on its tail, it would stand vertically - not tilt to one side. If anyone knows different, please let me in on the secret.
I didn't like the stick, so I took it off. I also braced the sides and cleaned up all the slopped and glopped-on glue that had never been removed. It is looking much better,
Now I turned my attention to the focal point of this acoustic guitar - the soundboard. I went to my stash of AAA Sitka tops that I had acquired from a former Westerly employee and selected just the right one for my friends guitar. None of that dreaded runout would be allowed back on this instrument, no sir!
At some point along this crazy journey, something in me snapped! No longer was my goal a "restoration" or "renovation" of an older guitar for a friend. I was determined to put a superior instrument back into the hands of its owner. I started with some Paua inlay around the soundhole.
I cut my braces from a large stash of Adirondack (Red) Spruce. I radiused the braces to fit the slight contour of the inside of the top (I have been using a 52 foot radius for nearly all my soundboards, as was used during the era of the so-called “Flat-Top” guitars).
I wanted to effect increased bass response over what I had heard from the D4-12 (just prior to its demise). This guitar is a dreadnought body style, but I chose to widen the X-brace after the spec's of Guild's jumbo body styles.
I laminated a Rosewood and Maple bridgeplate and glued it in place.
I had determined to stay true to the Guild 12-string bracing pattern, using 3 tone bars. As is my custom for my own instruments, I reinforced the inside of the upper bout with 2 additional layers of Mahogany and added a solid wood soundhole binding. This design negates the need for both a transverse brace and a fingerboard patch. The sides of the body are notched to receive the thicker upper bout, and the now unified neck block/soundboard system isn't going anywhere. Neck resets become a thing of the past.
The top was “voiced” using two methods. In method one, referred to as “tap tuning”, the soundboard is suspended in the air and tapped lightly to measure the frequency response. The braces are shaved, and the process is repeated until a particular response is achieved. In method two, I suspend the braced soundboard along its edges and set a weight atop the area where the bridge will eventually be glued. I measure the deflection, and shave the braces until I hit my target number. Combining these two methods yields a more responsive soundboard, which is my goal, and provides me with consistent repeatability.
The next step was to attach the soundboard to the body. This is a custom, iterative process, ensuring all parts mate perfectly before adding any glue. In place of the plastic that shipped with the original guitar, I will use wood binding and wood purfling around the perimeter of the body.
The final step needed to complete the body is to cut the dovetail joint that will mate with the tenon of the neck.
Having come this far, I decided to go all the way and fashion a new fretboard and matching bridge, so I routed off the old fretboard to ensure I did not alter any neck dimensions (as I had already cut the dovetail joint and fitted the neck).
I added Paua fret position markers along with smaller Paua side dots to the new fretboard and glued it on. The bridge would be added after the finish is applied.
I was inspired to improve the visual appearance of this guitar, so I sprayed a deep tobacco 'burst onto the arched back and finished the top with a vintage tinted clear lacquer. It turned out very pretty. This guitar was now ready to be set aside to allow the lacquer to fully dry.
I glued the bridge on (if anyone remembers: this is where I originally started!) and I fashioned a custom pickguard. I fretted the new board with Nickel frets, and fashioned a new bone nut and bone saddle. I strung it up and ...
... I kicked myself for not recording a Before and After sound sample of this transformation!
Wowsers! It sounded just gorgeous. Lush and deep and rich and everything you could want from a Guild 12-string, or from ANY 12-string!
I contacted the sons of the owner and asked if they remembered me {smile}. They returned the guitar to their dad, one surprised and happy Guild owner.