By the winter of 2014, my venerable 1980 Guild F-412 12-string was in need of a neck reset.
Over the years, string tension had taken its toll on this guitar. Forward bridge rotation had lifted the soundboard behind it into a noticeable "belly," with the classic reverse-image depression in front of the bridge. A JLD Bridge Doctor had been applied internally, and was only marginally successful in adding a few more years of playability. The flexible upper bout that permitted forward neck block rotation had resulted in neck geometry that could no longer be countered using the twin compression rods buried inside the neck. In an effort to "avoid the inevitable," the saddle had been lowered repeatedly, and the bridge had been shaved (planed) in order to allow more saddle to be exposed. Overall string height (in front of the bridge) was abysmally low, while action (at the 12th fret) was painfully high.
No more adjustments could be made to this guitar. Only a neck reset could put things right.
I removed the Bridge Doctor, fearing the worst. With the strings back on, I measured the top deflection at a point just behind the bridge to contrast with the measurement taken after the strings were removed, and found the differences to be surprisingly nominal, at approximately 0.030″. To accomplish this, I use a bar fixed with a dial indicator and two legs. The legs rest on opposite rims of the lower bout, hold the bar parallel with the plane of the soundboard.
Deflection measurement (if there is any) is taken into consideration when determining how much material to remove from the neck heel to correct the neck angle. NOTE: It is possible to take measurements from an unstrung guitar, reset a neck, re-string the guitar and, as the strings pull the top up, discover the new neck angle is insufficient. That is a mistake that usually only happens once.
Though definitely bellied, the top was remarkably stable, likely due to the presence of Guild's three monster tone bars (braces butted against the X brace and tapering out toward the tail of the guitar, stopping just short of the rim) glued to the underside of the top, behind the bridge.
In order to begin to correct the string height issue, it would be necessary to slightly increase the angle of the neck back away from the top of the guitar. This adjustment also (ever-so-slightly) alters the distance from the nut to the saddle, also known as the scale length. Under optimal neck reset circumstances, a slight adjustment to the crest of the saddle with a fine file is all that is needed to restore perfect intonation. Much of the time, though, a new saddle is needed to correct for height issues, so the compensation is addressed at that time. Under more dramatic circumstances, a new saddle slot may need to be routed at a new, precise location, requiring the existing slot to first be filled in. In my case, however, with both the scale length changing and the fact that the bridge is much thinner than desired due to shaving, the bridge needs to be replaced.
In my case, the neck needs to tilt back far enough that the scale length will definitely be affected. Along with the fact that the bridge is now much thinner than desired due to shaving, I will replace the bridge entirely, and address the saddle position and placement as if I was building a new guitar.
In 1980, the guitar shipped with a tinted nitrocellulose lacquer (NCL) finish. The method for applying color always included clear Nitro top coats, with sufficient tint coats beneath to achieve the desired appearance. The tint layer may or may not have been applied directly to the seal coats. I have encountered guitars having a seal coat layer, a clear lacquer layer, a tint layer, and a final clear top coat layer.
The tint color of this 12-string was referred to as "Cabernet" at the time. In 35 years, the clear finish had yellowed significantly (in my case as a result of plenty of exposure to sunlight). In just the right light, the Cabernet color could be rather attractive. Unfortunately, under most lighting conditions, Cabernet plus Yellow = dirty BROWN - Not all that pretty.
Artistic endeavors aside, the most common reason to paint a guitar like this is to hide a visual flaw. If the Maple underneath all that lacquer turned out to be halfway decent, I wouldn't miss the dirty brown paint job. Hmm ...
I'm doing it! I'm going to remove the finish.
I would be using a sharpened scraper for removal of the nitrocellulose lacquer finish.
Question: Why not sand the finish off?
Answer: NCL dust can be toxic and messy, and quickly clogs my non-loading sandpaper. It is much too easy to alter the finished dimensions of the underlying wood using a sander (No “oops” allowed!)
Question: Why not strip it off chemically?
Answer: I try to limit my exposure to Lacquer thinner. It is impressively toxic, not to mention unbelievably flammable. Lacquer thinner can readily soften glue joints and dissolve plastic binding. It is messy, and I run the risk of inadvertently staining areas of raw wood.
A scraper provides me very tactile feedback of my progress. Granted, it takes some elbow grease (and a SHARP scraper), but the results are consistently pleasing and achieved with minimal disturbance of the underlying wood.
I laid the guitar face down on my bench, donned a mask, broke out my scraper, held my breath (figuratively speaking) and scraped up my first ultra-thin ribbons of lacquer. The top coat, as expected, was clear (albeit yellowed) lacquer.
Subsequent scrapings revealed the darker, tinted lacquer that made up the initial darker coat(s).
And then I hit pay dirt! The golden curly Maple that was barely visible beneath the finish and hadn’t breathed air for three and a half decades suddenly leapt into view.
A view of the back of the headstock provides a hint at just how much scraping is necessary to peel away the finish. It has taken me a couple of hundred short scraping passes just to get this far.
2 hours later (and some serious neck, shoulder, arm, hand and finger work that left me begging for a massage) and I was left wondering why this Maple had been covered in the first place. While certainly not breathtaking, it looked just fine (Methinks our standards have been lowered over the years). I was relieved to not find any real flaws in the Maple on the body and delighted at the prospect of seeing a clear finish go back on this guitar.
The thin finish of the neck scraped off readily, and revealed the only notable aesthetic “flaw” on the entire guitar, a 2″ streak of discolored wood on the backside of the neck, near the headstock. This flaw is not a surface stain and the (already completed) dimensions of the neck will not be disturbed so it will remain “as is” with no attempt made to hide it.
In a production setting, pragmatism reigns. Much like yesterday's unsold burger becomes today's chili, or today's unsold chicken becomes tomorrow's chicken salad, materials having aesthetic "flaws" that would never be considered for boutique instruments are simply set aside for guitars that will be painted (tints, sunbursts, etc.). Finer grades of wood are reserved for instruments that would be clear-coated.
The black fiberboard (not plastic) head plate with mother-of-pearl inlay scraped down perfectly smooth. It will look great, once re-finished. I removed and re-glued the binding around the headstock, something I had wanted to do for a long time.
Yes, I scraped this guitar clean of finish with the neck still attached. Why? It is good practice for those guitars whose necks are not removable.
Satisfied with the results thus far, I set out to remove the neck. Using my high-tech fret removal tool (a soldering iron) I heated the 15th fret (one fret wire closer to the soundhole than the point where the neck joins the body) and carefully removed it with nippers.
Heating the fret helps to minimize chip out of the brittle ebony, as the barbed fret tang is forced up and out. Those barbs aren't designed for fret removal, so they do tend to want to grab, tear, fracture and chip the wood on their way up and out.
Here is view of the access holes that get drilled to introduce steam (or dry heat). You are looking at the underside of the fretboard extension AFTER the neck has been removed:
Something of an urban legend has developed over the decades regarding a notion that Guild dovetailed guitar necks are somehow generally more difficult to remove than other manufacturer’s dovetailed necks. Is there any truth to this claim? Yes and no. If a luthier has restricted the application of glue to a small smear on either side of dovetail, then the experience of removing the neck is pleasant, regardless of brand.
Here is where things get interesting. Guild neck heels, by design, are wider than Martin neck heels where they meet the body. That should not translate to anything significant UNLESS that heel is also being glued to the sides of the body. Having a wider dovetail would likewise not translate to anything of significance UNLESS one is unnecessarily adding glue into the dovetail cavity (the space between the end of the tail and the wall of the neck block). With some instruments, glue was applied so liberally that it filled that small space in the mortise, entombing the dovetail in glue. Additionally, glue was applied to the end grain of the neck that butts up against the sides, outside of the dovetail mortise. A neck assembled this way would result in much greater effort being needed to remove it (the kind of effort that gives birth to legends). Happily, such was not the case with this particular Guild.
I attached a neck removal jig to the body. Its purpose is to apply pressure to the heel of the neck at the end cap, to un-wedge the compound angle of the triangular tenon from its corresponding mortise. Depending on the guitar, it can be prudent to remove the end cap from the heel or leave it in place. I opted for the latter (and was glad I did once I saw how the neck had been prepared for its initial glue-up). Steam is introduced into the glue joint via a hollow metal tube attached to a hose which, in turn, is attached to a high-quality European steam source (a cappuccino machine - :-), through the two holes drilled in the fret slot. I propped up the guitar to allow any water (cooled, condensed steam) to drain down and away from the body of the instrument, as opposed to letting it run onto (or worse, into) the body.
A telltale sign of a neck reset, especially one where more hot water than steam has been used, is the presence of dried white powdery rivulets of watery glue residue inside the body of a guitar. I will not be introducing any.
Alternating the steam between holes while gently increasing pressure against the end cap was sufficient to break the neck loose. Time elapsed: Less than 5 minutes total with approximately 2 teaspoons of water on the bench.
I towel dried all the parts and inspected the joint. Everything looked good. This was a clean neck removal.
With the neck off, it is now possible to look inside the dovetail joint, and see the critical intersection of the back, sides, soundboard and neck block.
This particular Guild F-412 was constructed using laminated Maple sides, a laminated Maple arched back and a three-piece Maple-Walnut-Maple neck. The cross-section view of the side, in the photo below, clearly reveals the two-ply lamination that makes up the sides. The crystalline stuff is glue residue, copious amounts of glue residue.
I spent another hour carefully scraping and sanding to remove any remnants of lacquer from the neck and body, and then moved on to the soundboard. I had left the finish in place during the application of steam, as it would offer a degree of protection should any water hit the top.
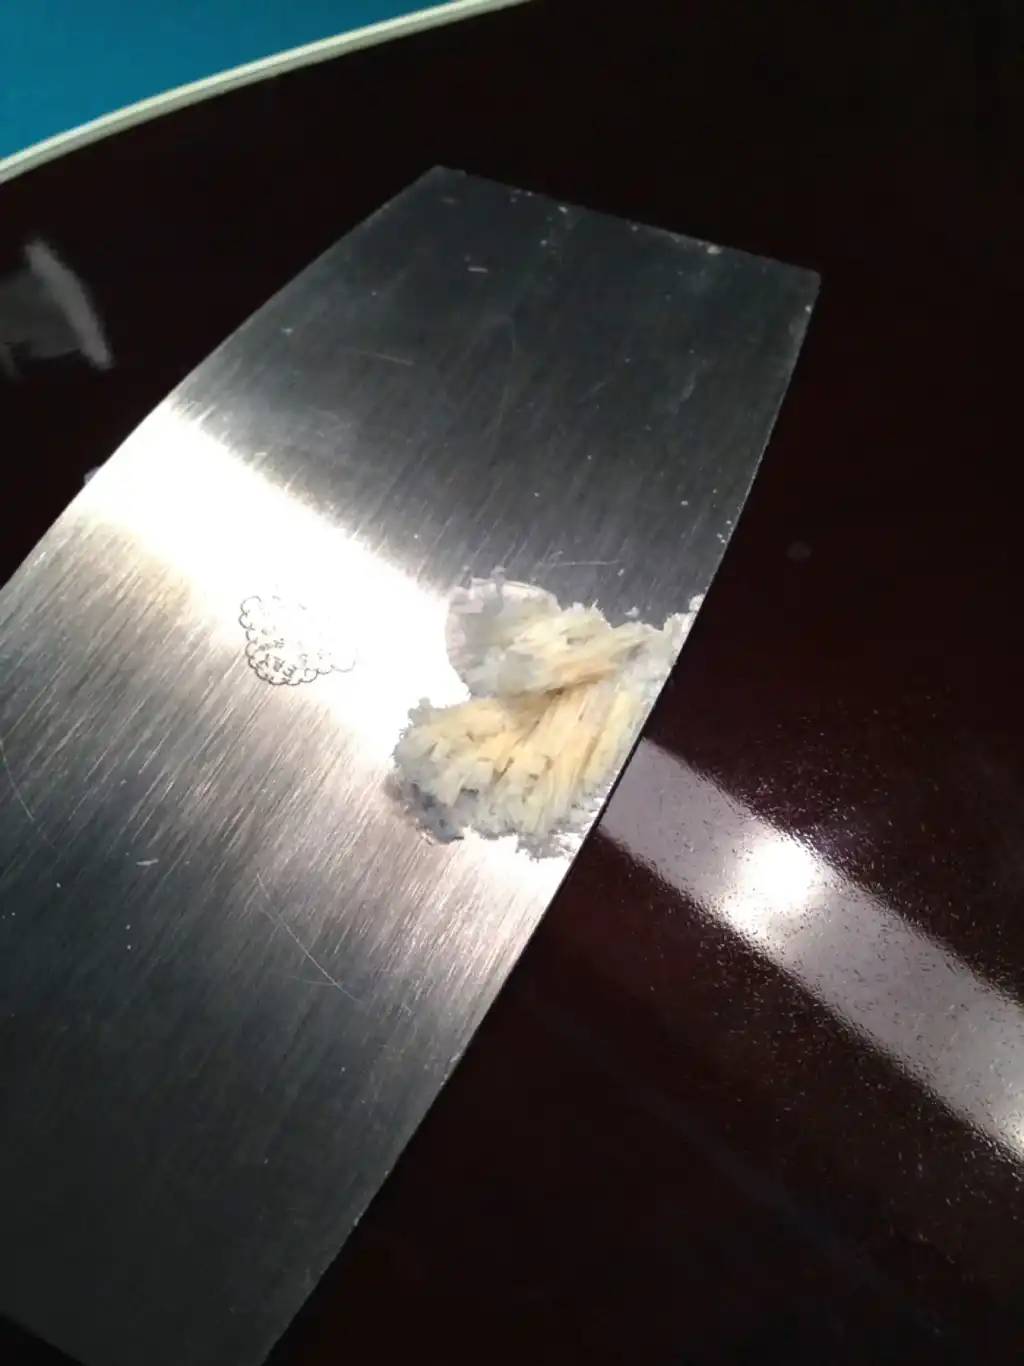
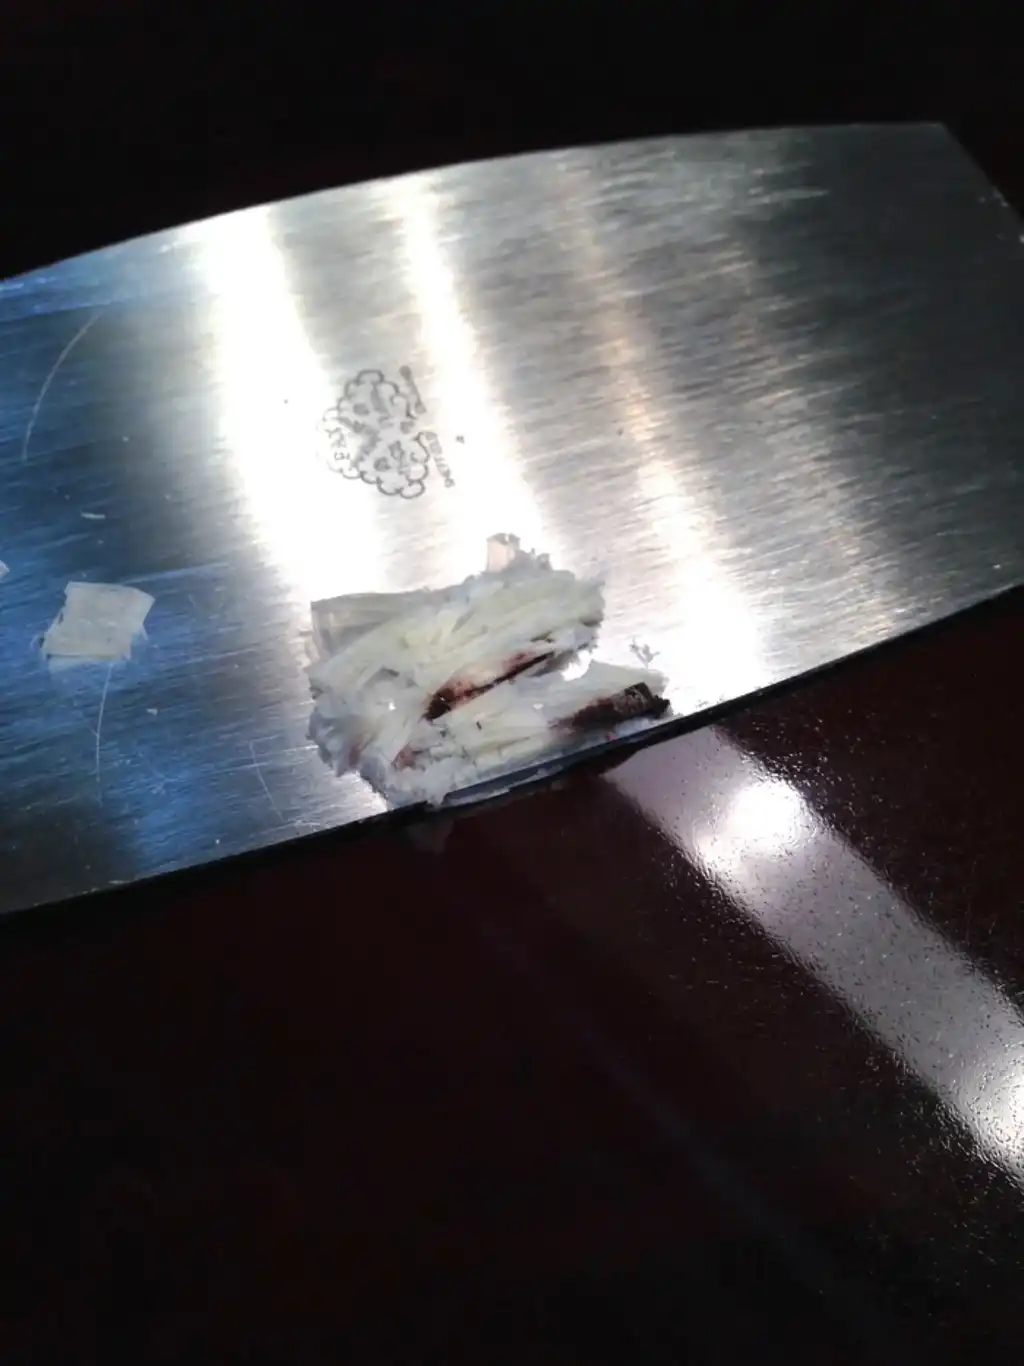
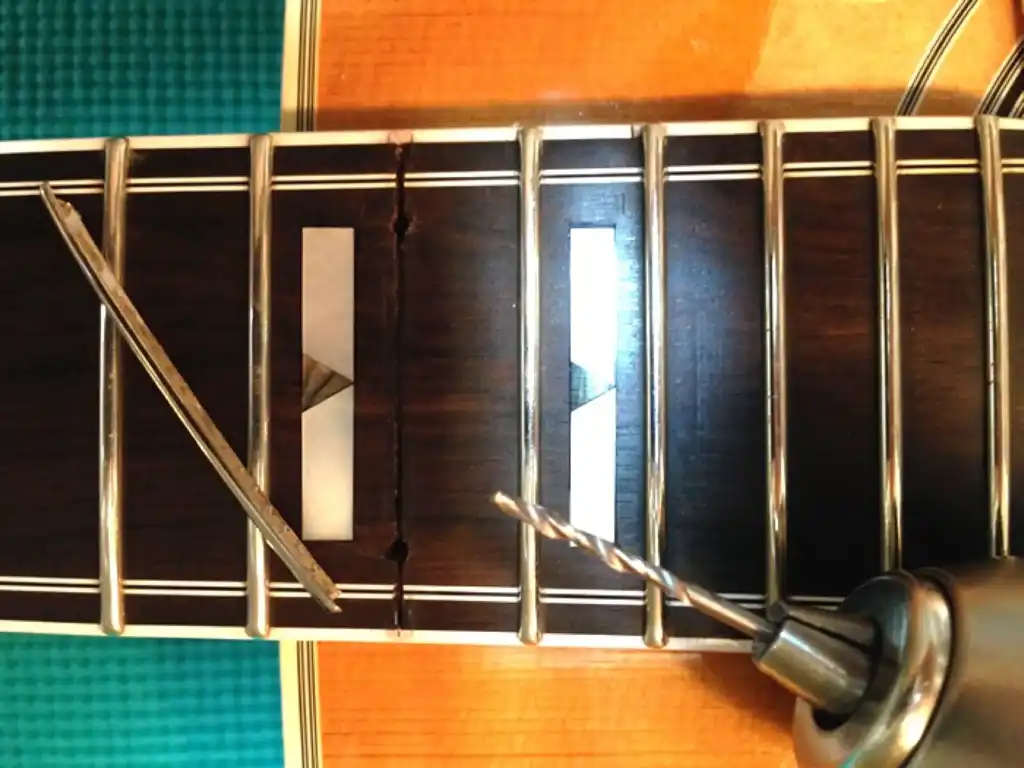
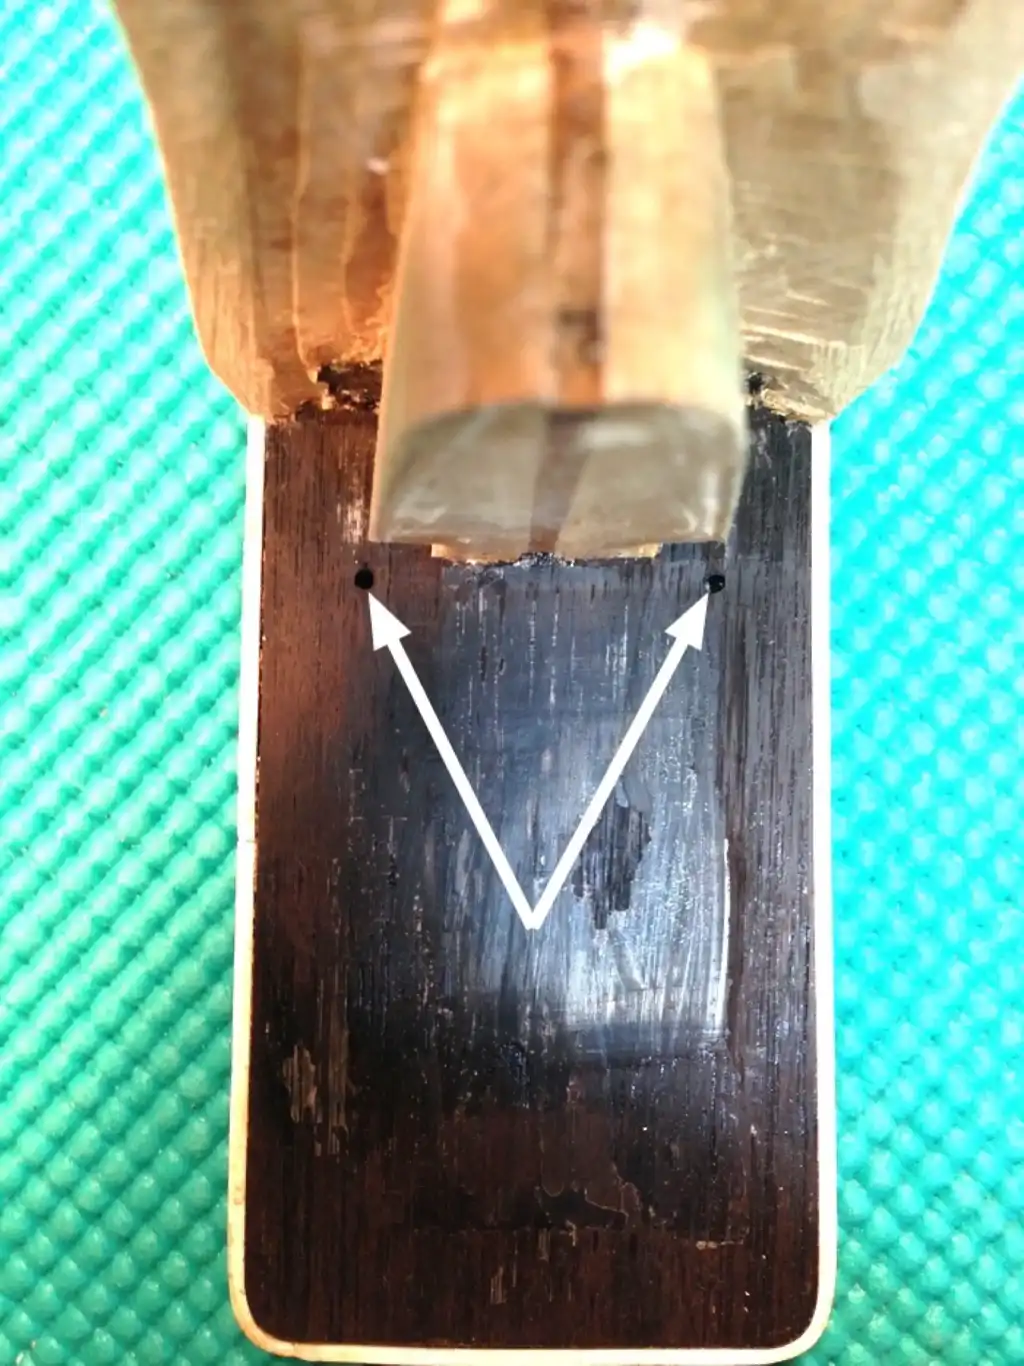
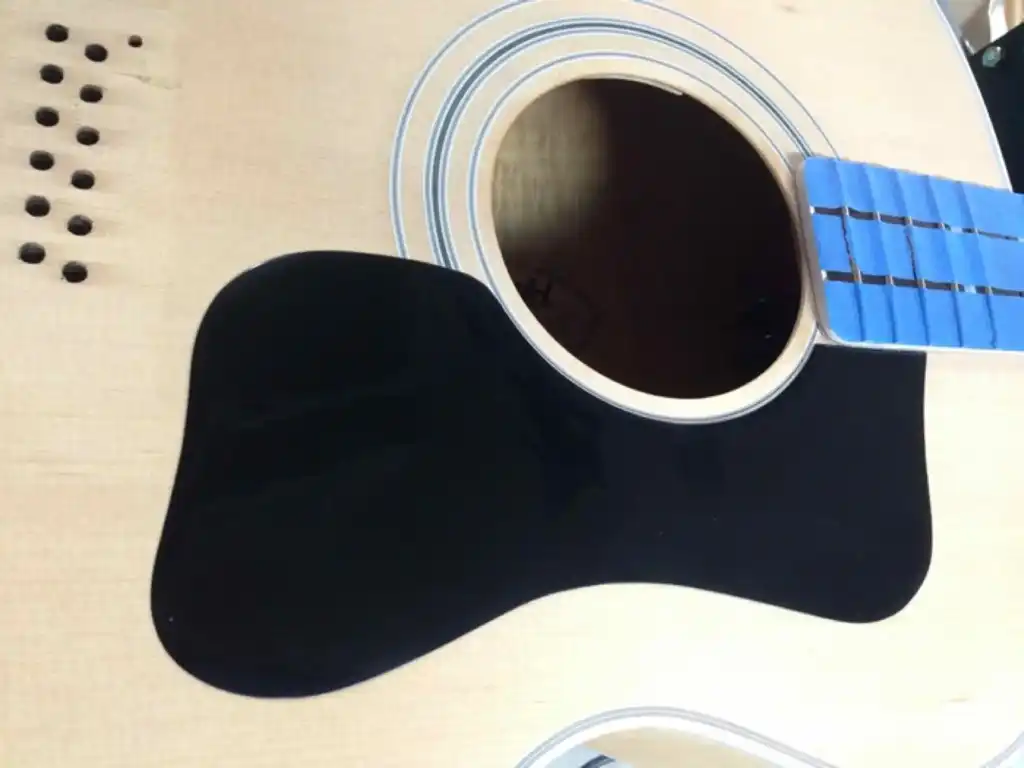
I heated the ebony bridge (a heat gun, heat lamp, hot iron or even a hair dryer will work) to soften the glue. Care must be taken to not overheat the surrounding areas, as other glue joints (bridgeplate, braces, top to sides, binding, etc.) need to stay intact. Some very thin tools (palette knives) were used to release the bridge from the underlying Spruce. Hardwood bridges are glued directly to unfinished, softwood tops (at least, they *should* be). When removing a bridge it is important to work slowly and deliberately to minimize any tear out of the soundboard.
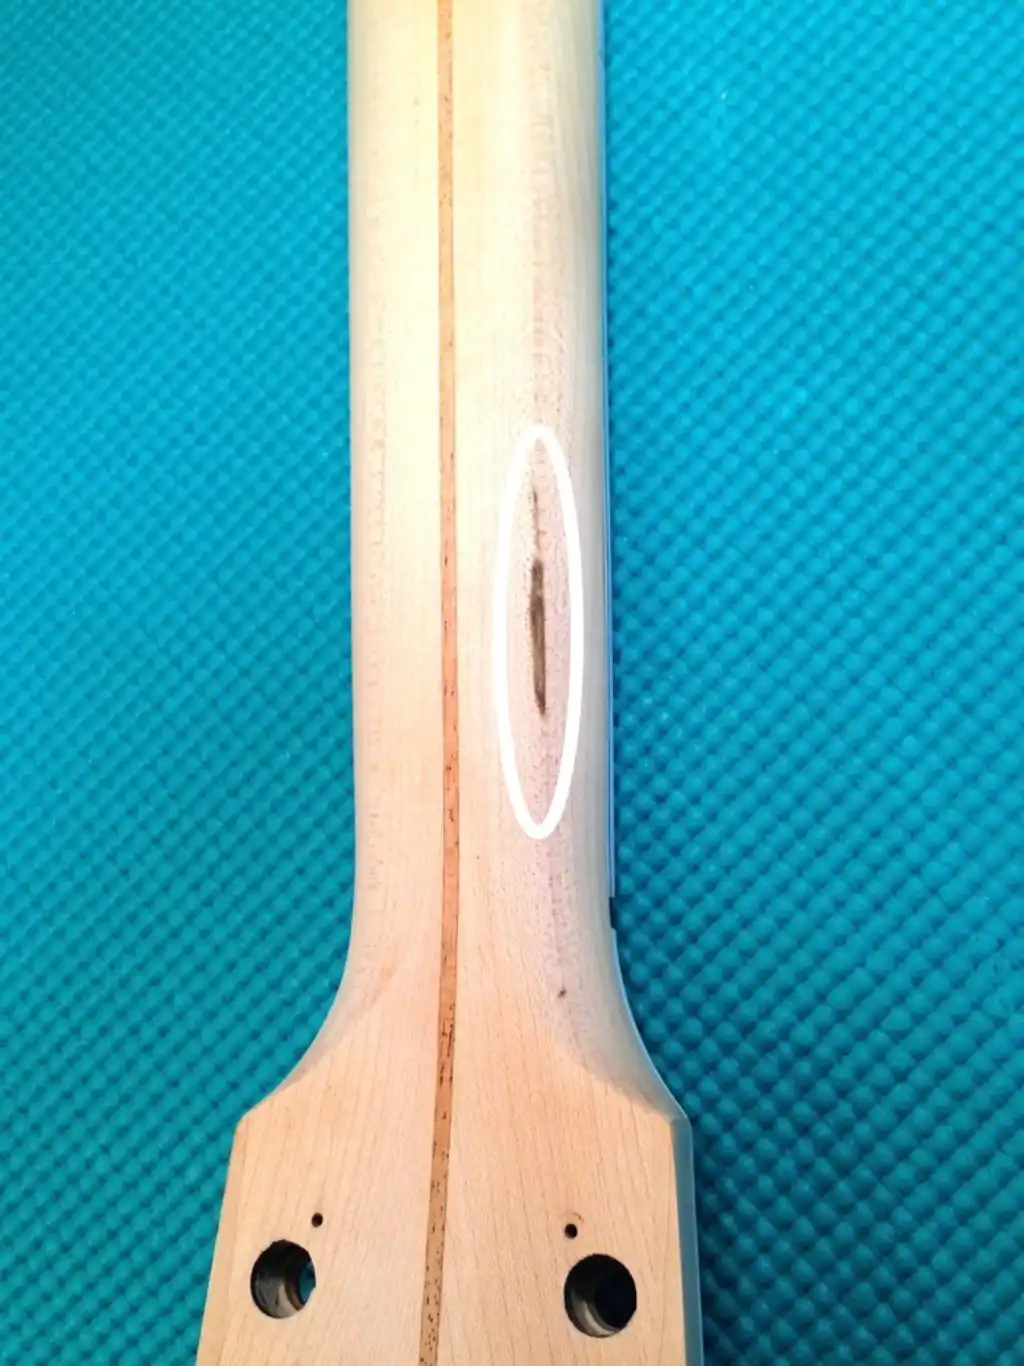
The same process removed the pickguard, which did result in some tear out. Unlike the bridge, which must be glued to the raw wood surface of the soundboard for longevity, a pickguard *should* be attached to the surface of the finish, not the surface of the raw, unfinished wood. With adhesives not being as advanced back in the era of the construction of these guitars, pickguards were fused directly onto the soundboards, and are extremely difficult to remove. In my case, lifting the pickguard away from the top also revealed some serious grain runout in the Spruce. I will be replacing the pickguard, which will cover any blemishes.
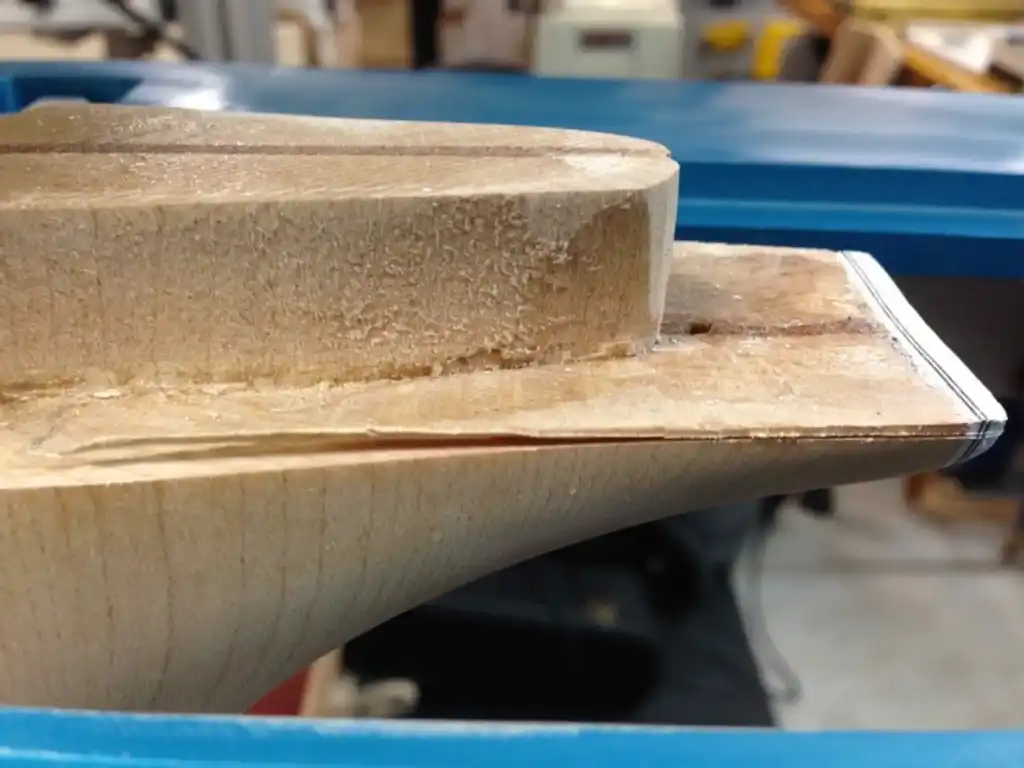
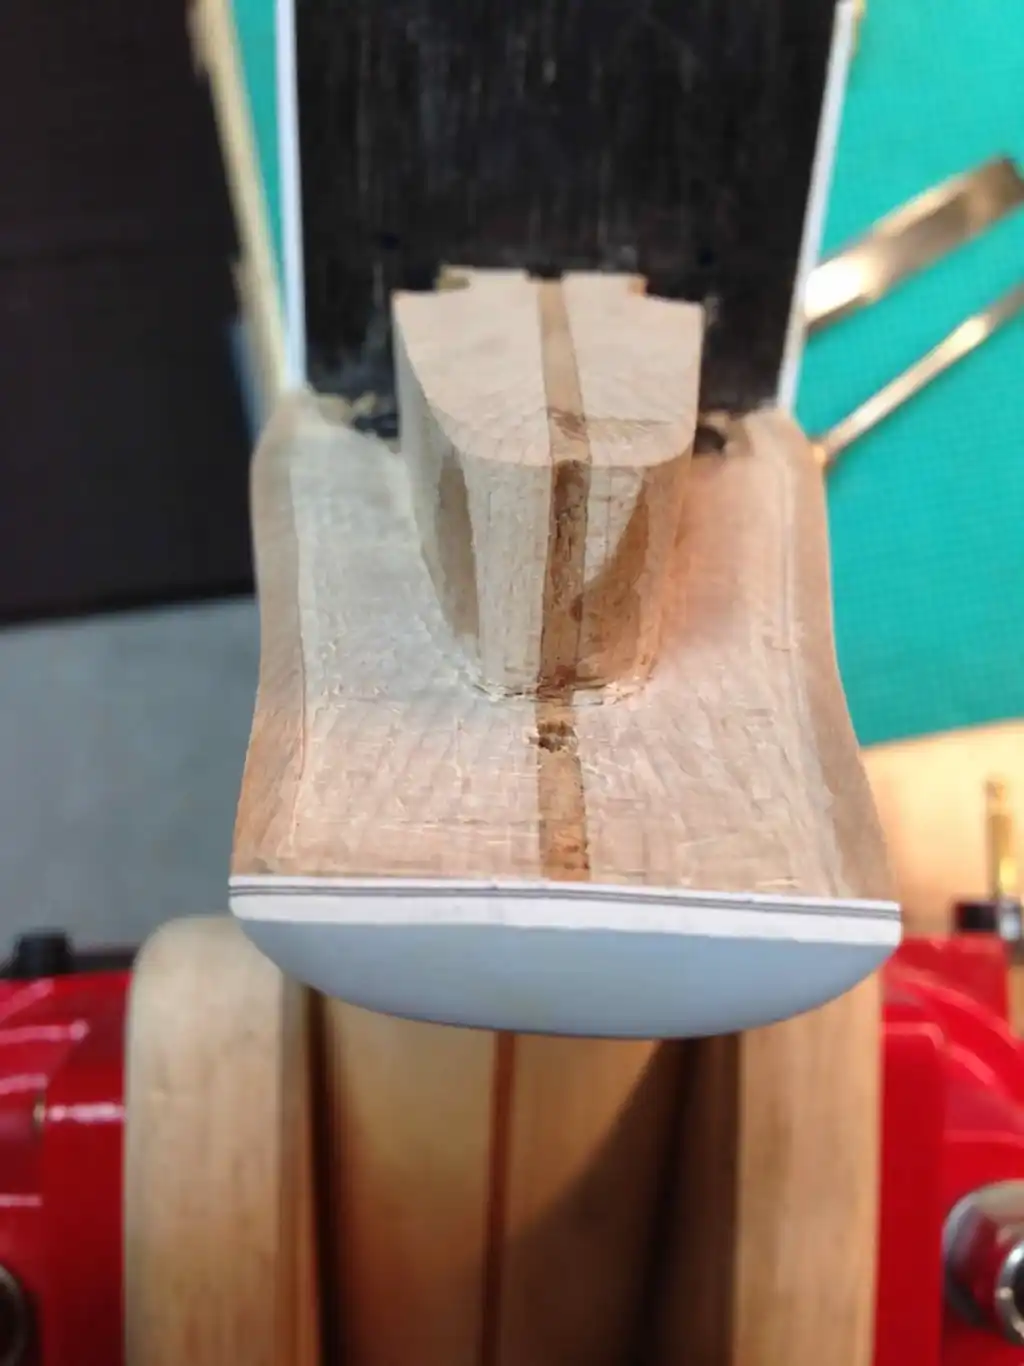
I spent a bit more time improving the condition of the white plastic binding which was (evidently) a bit irregular to begin with. There were a couple of cracks in the binding around the fingerboard but, as they were stable, I chose to leave them alone. Solvent-based plastics will shrink over time and, when they do, they can leave some nasty scars.
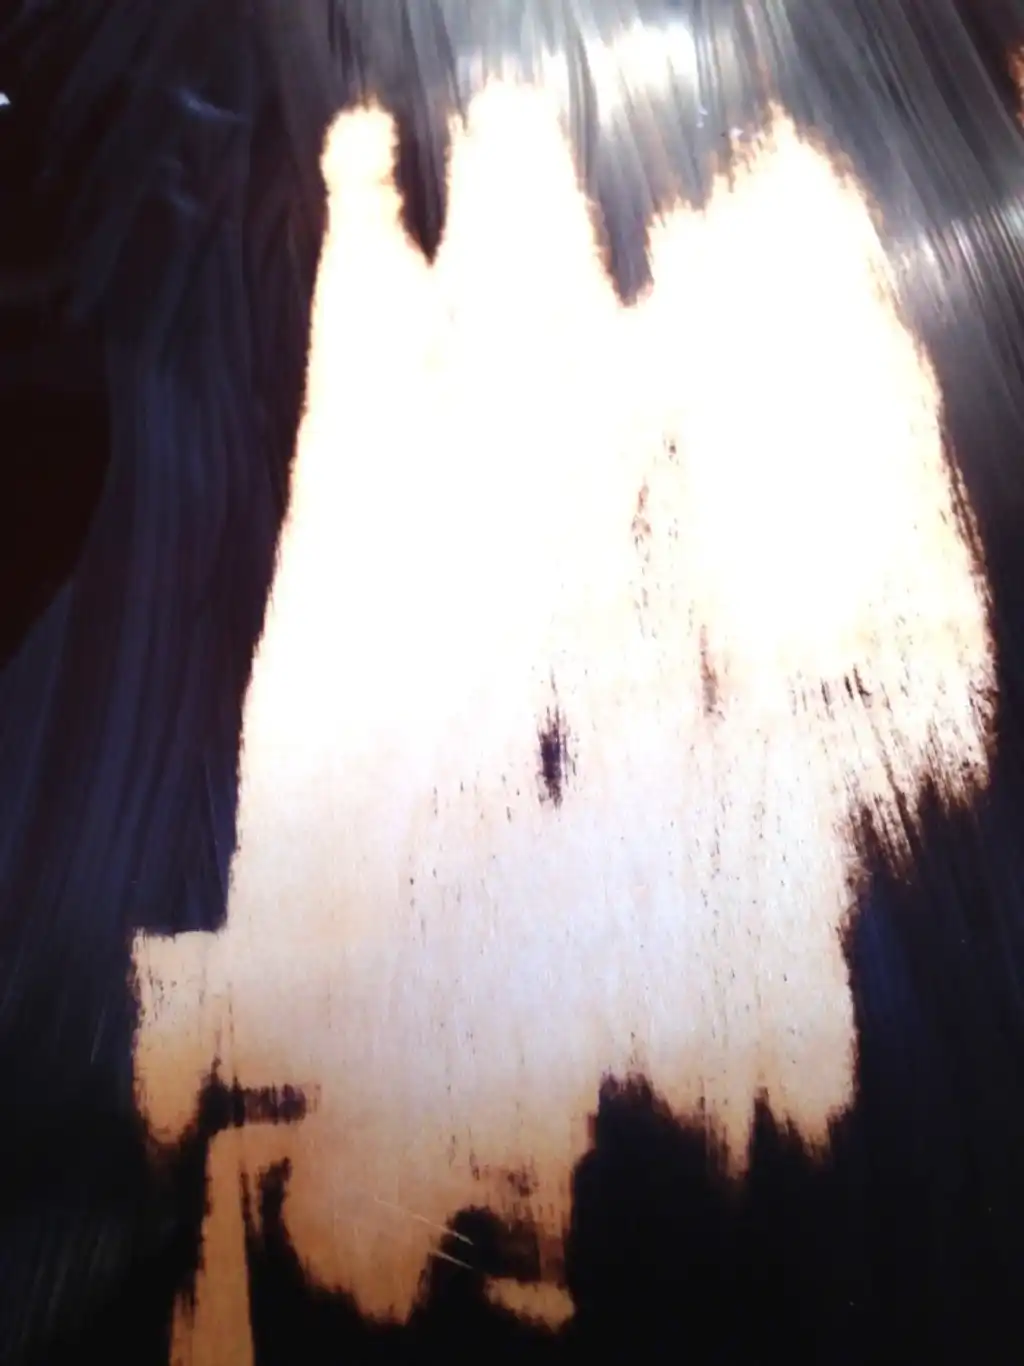
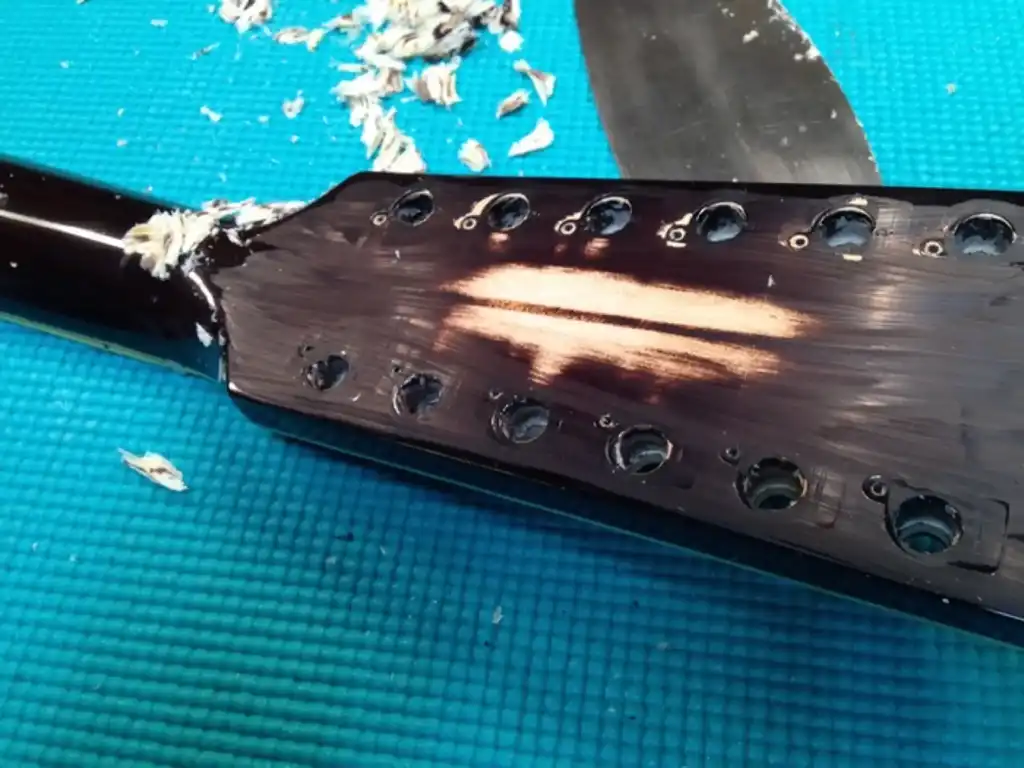
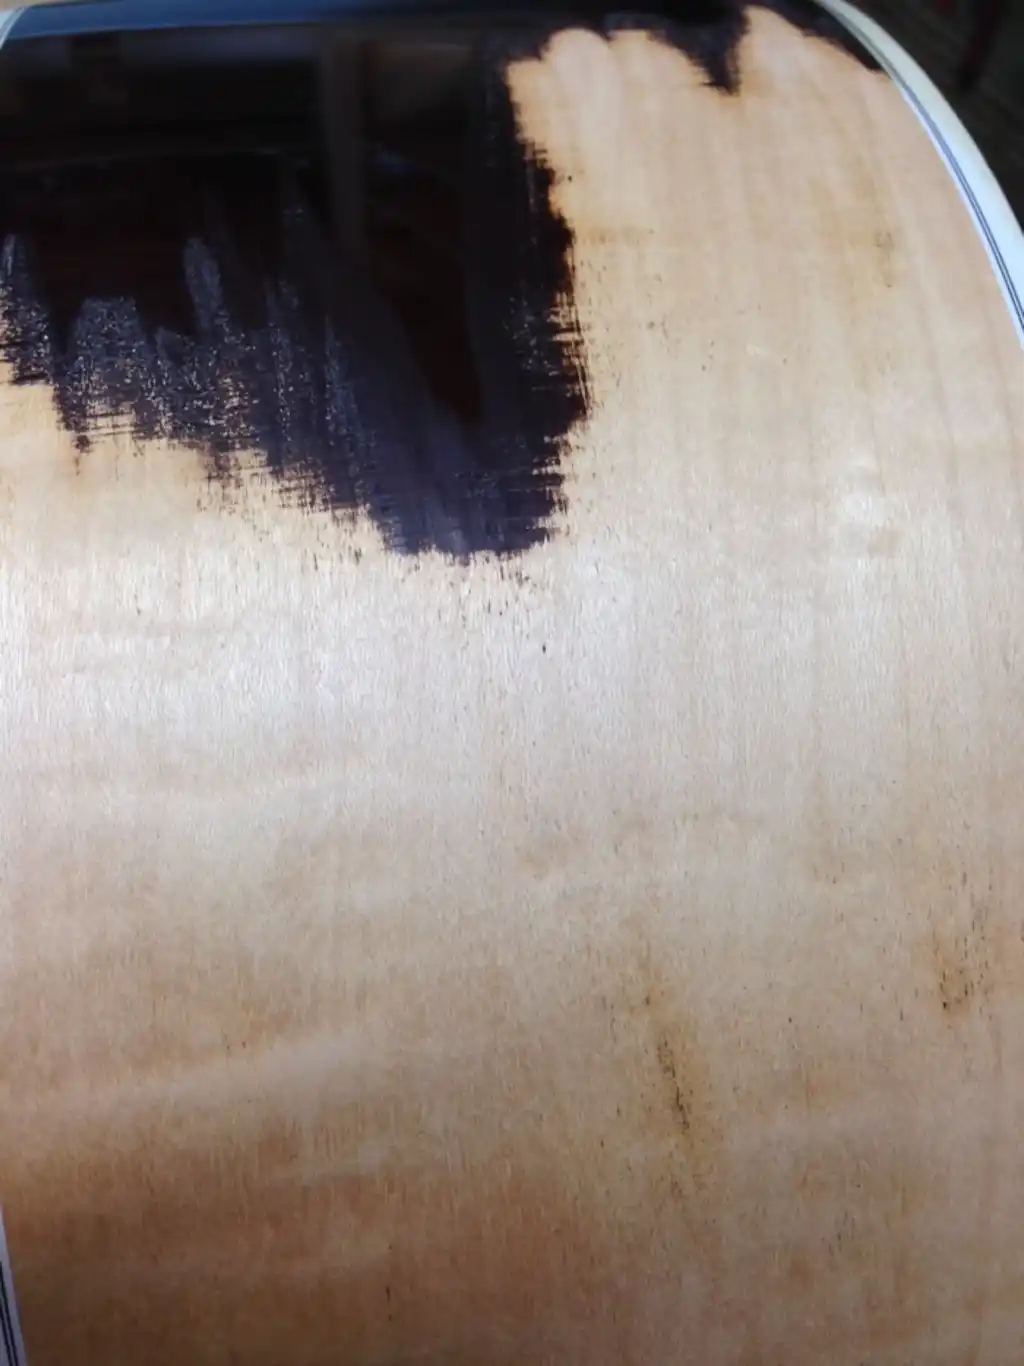
With the fingerboard, bridge and pickguard removed from the body it was a simple task to carefully remove the finish from the Spruce top. It was important to just take off the finish, not the underlying wood, since a top’s thickness plays a major role in determining its stiffness and, subsequently, both its sound and its strength. With that task accomplished, I wiped a coat of Shellac over the top to offer some protection as I continued to work with the guitar.
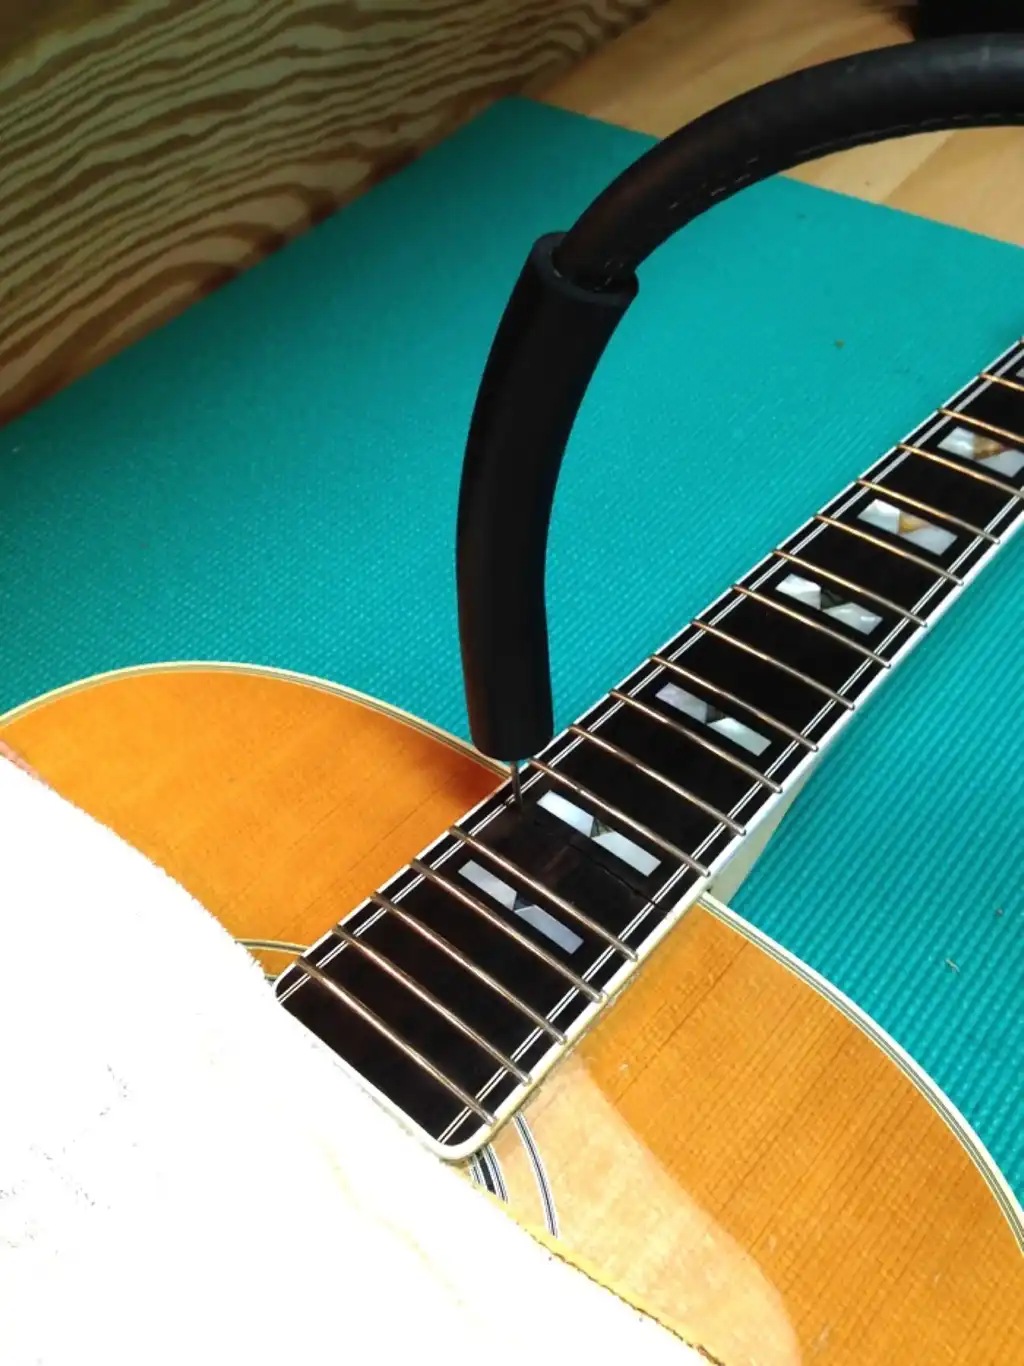
The old pickguard was in bad shape, so I took the time to sand out the flaws and polish it to a mirror shine. This is what it would look like if I chose to reuse it (a classic Guild appearance):
Traditionally, these incredibly tough celluloid pickguards were fused into the underlying wood by using either lacquer thinner or a solvent-based adhesive (since they are made of a solvent-based plastic), then a lacquer finish was sprayed over the top. Celluloid will shrink (breaking down over time), and if you saw how well glued/fused to the Spruce this type of pickguard can be, it would be easy to understand why so many vintage soundboards have cracks or splits below the pickguard. The pickguard shrinks as the solvents flash off over the years, ripping and tearing the wood it is directly fused with away from the adjoining wood. Thankfully, that had not occurred to this 12-string.
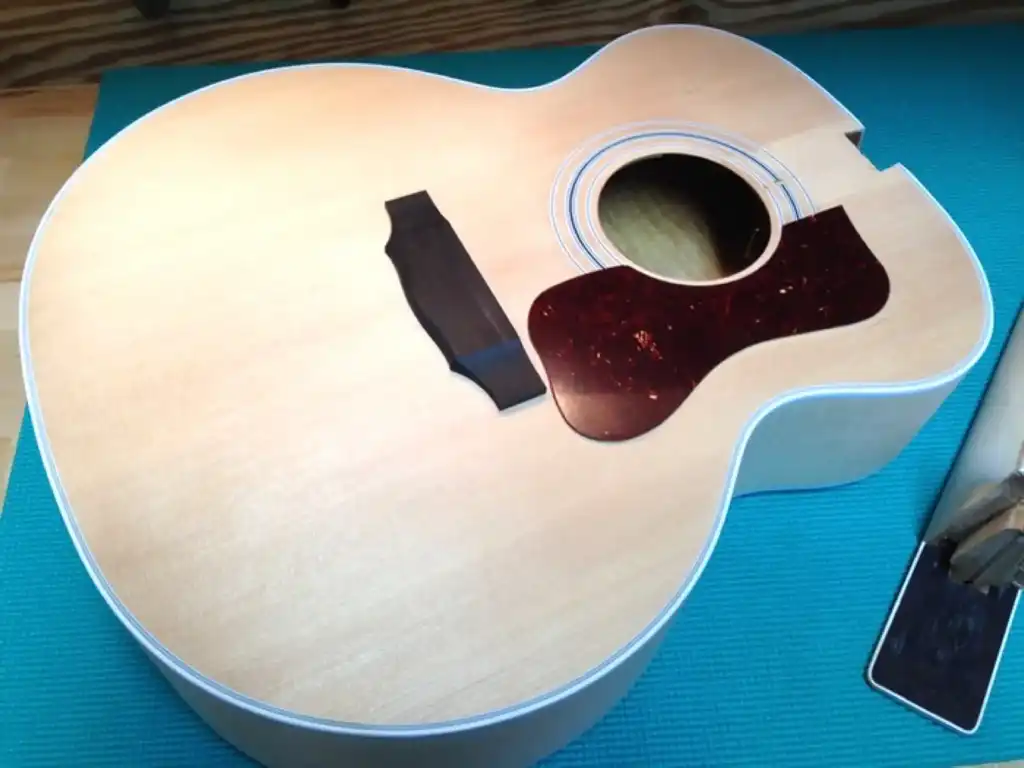
Traditionally, to re-affix the celluloid pickguard I would need to apply a solvent-based adhesive and fuse the pickguard back into the wood. But I have options: I can affix the old pickguard over the finish, but I can also simply make a new black pickguard from a non-shrinking material. It can be black or even a faux tortoise-shell look (see photo, below).
My 12-string originally came with an ebony bridge, where some F-412’s of that time shipped with rosewood bridges. I decided to stay with the original look, with the headplate, fingerboard and bridge all being of the same wood, so I hand-planed a piece of ebony square, thickness sanded it, traced the old bridge, cut it on the bandsaw, sanded to the traced lines and shaped the wings. I will wait to produce the saddle slot until after the new bridge is glued in place, as I wish to alter the compensation that had been established for the guitar, originally.
Using the top deflection measurement I took prior to removing the neck, along with the length of the neck heel and the distance from the nut to the center of the 14th fret, it was possible to calculate the amount of material I needed to remove from the base of the heel to angle the neck correctly. This Guild neck heel was thin to begin with, so great care had to be taken when removing even more material. The neck is hard Maple, so my marking and cutting tools have to be razor sharp!
The photo, below, clearly shows how more material is removed from the base of the heel, and no material is removed from the intersection of the top of the heel and the surface of the neck. This taper tilts the neck back, dropping the headstock, and angles the flat plane of the fingerboard upward, higher over the surface of the soundboard than it measured, previously.
The heel rests against the sides of the body. There should be no gap(s) between the two components. Under near perfect conditions, the surface of the body and the surface of the heel are planar, and the two mate together seamlessly. In the real world, there are variations in those surfaces that result in unsightly gaps. How do I overcome the variations? Sandpaper.
As I am going to be removing very small amounts of material from the neck heel, there is no need for me to have to sand the entire surface of the heel. I will remove material using a chisel, leaving a small ledge around the perimeter of the heel. This will be what I sand.
With the guitar body held firmly in place, I set the tenon of the neck into the mortise of the neck block, and deliberately pinch a piece of sandpaper between them, sand side up. Using an iterative process, beginning with the sandpaper on one side of the dovetail, holding the neck firmly against the body, I draw the sandpaper out from beneath the heel. I repeat the process, placing the sandpaper on the opposite side of the dovetail. I then test fit the neck without any sandpaper.
I will lather, rinse, and repeat until any and all gaps are resolved. I am careful to A.) not alter the neck geometry I have just cut into the heel, and B.) remove material form both sides of the neck evenly, checking to ensure the string path stays centered on the bridge.
The bridgeplate was in remarkably good condition (I can make a fairly decent argument for being careful with string changes), and all bracing remained intact so no internal repairs were necessary. I taped off the location of the bridge in order to have bare wood to re-attach the new bridge to, and then it was time to get started on the finish prep.
The neck and body were sanded to 320 grit for a perfectly smooth, scratch-free surface. It is important to not "scrub" the wood (especially a softwood top such as Spruce or Cedar), generating heat as though burnishing, as that seems to merely pack the dust into the surface and alters the look of the wood. For a glossy finish on furniture that can be advantageous. For a musical instrument it can be detrimental. Wiping with naphtha may be helpful to reveal any flaws, as well as to remove residual dust.
The back, sides and neck of this 12-string are Maple, making pore filling unnecessary. I had considered experimenting with the finish, using a special Shellac on this 12-string, a formulation that adds cross-linking hardeners and a plasticizer, but there are many other options including more durable waterborne Urethanes, various oil-based finishes, a CyanoAcrylate finish, and good ol’ NitroCellulose Lacquer.
The new bridge was glued on using non-creeping hide glue, whose working time is measured in seconds rather than minutes. With that kind of time constraint it is imperative to have a dress rehearsal or practice run prior to applying any glue. The bridge is clamped in place, any squeeze out is wiped up immediately, and the bridge is left to dry.
New pickguards typically come with an adhesive backing and are applied over the top of the finish.
A new nut is fashioned for the headstock end of the fretboard.
Using a fixture, the precise compensated position of each string is transferred onto the bridge. This allows for precise positioning of the routed saddle slot.
A new saddle is fashioned for the bridge, the machine heads are re-attached to the headstock and the guitar is strung and tuned to pitch. What started out as a neck reset became a bit of an overhaul, but this 1980 Guild F-412 is complete!